
This is the first one that I did. Click on the picture so you can zoom in to see it better. I was allowed to do stuff while sitting. So I cut the fabric, while sitting. I then ironed the edges under, while sitting. I cut fabric for the tree, while sitting.
I then stitched on the tree trunk and treetop, while sitting, what else? My sister helped with those, while sitting next to me. Those and the clouds are all done with a very simple running stitch. We also added a bird, he was stitched with a running stitch but then I used some back stitching for his legs, a french knot for an eye, and the satin stitch for the beak.
For the lines and numbers going up the side, I put the cloth in an embroidery hoop to make it easier. I measured and marked the lines with a tape measure and stitched them with a split stitch.

For his name I wanted it to be bigger and more special, so I used a bold chain stitch.
I didn't worry about finishing off the edges because most of them were stitched over at some point. For the top and bottom I basically hemmed them with hot glue and slid the dowels in. The top just has yarn tied to it.

I showed off my masterpiece at work, and my boss wanted one for his little girl. I told him he was crazy because it took me about 6 hours to make this one. He offered to pay me for one hourly so I made this next one.

I did this one a little bit differently. I knew I didn't want to stitch all of the lines, that was the most time consuming, so I bought a fabric paint pen.
With using a fabric pen, my edges wouldn't be finished as well, so I ran them through the sewing machine first.
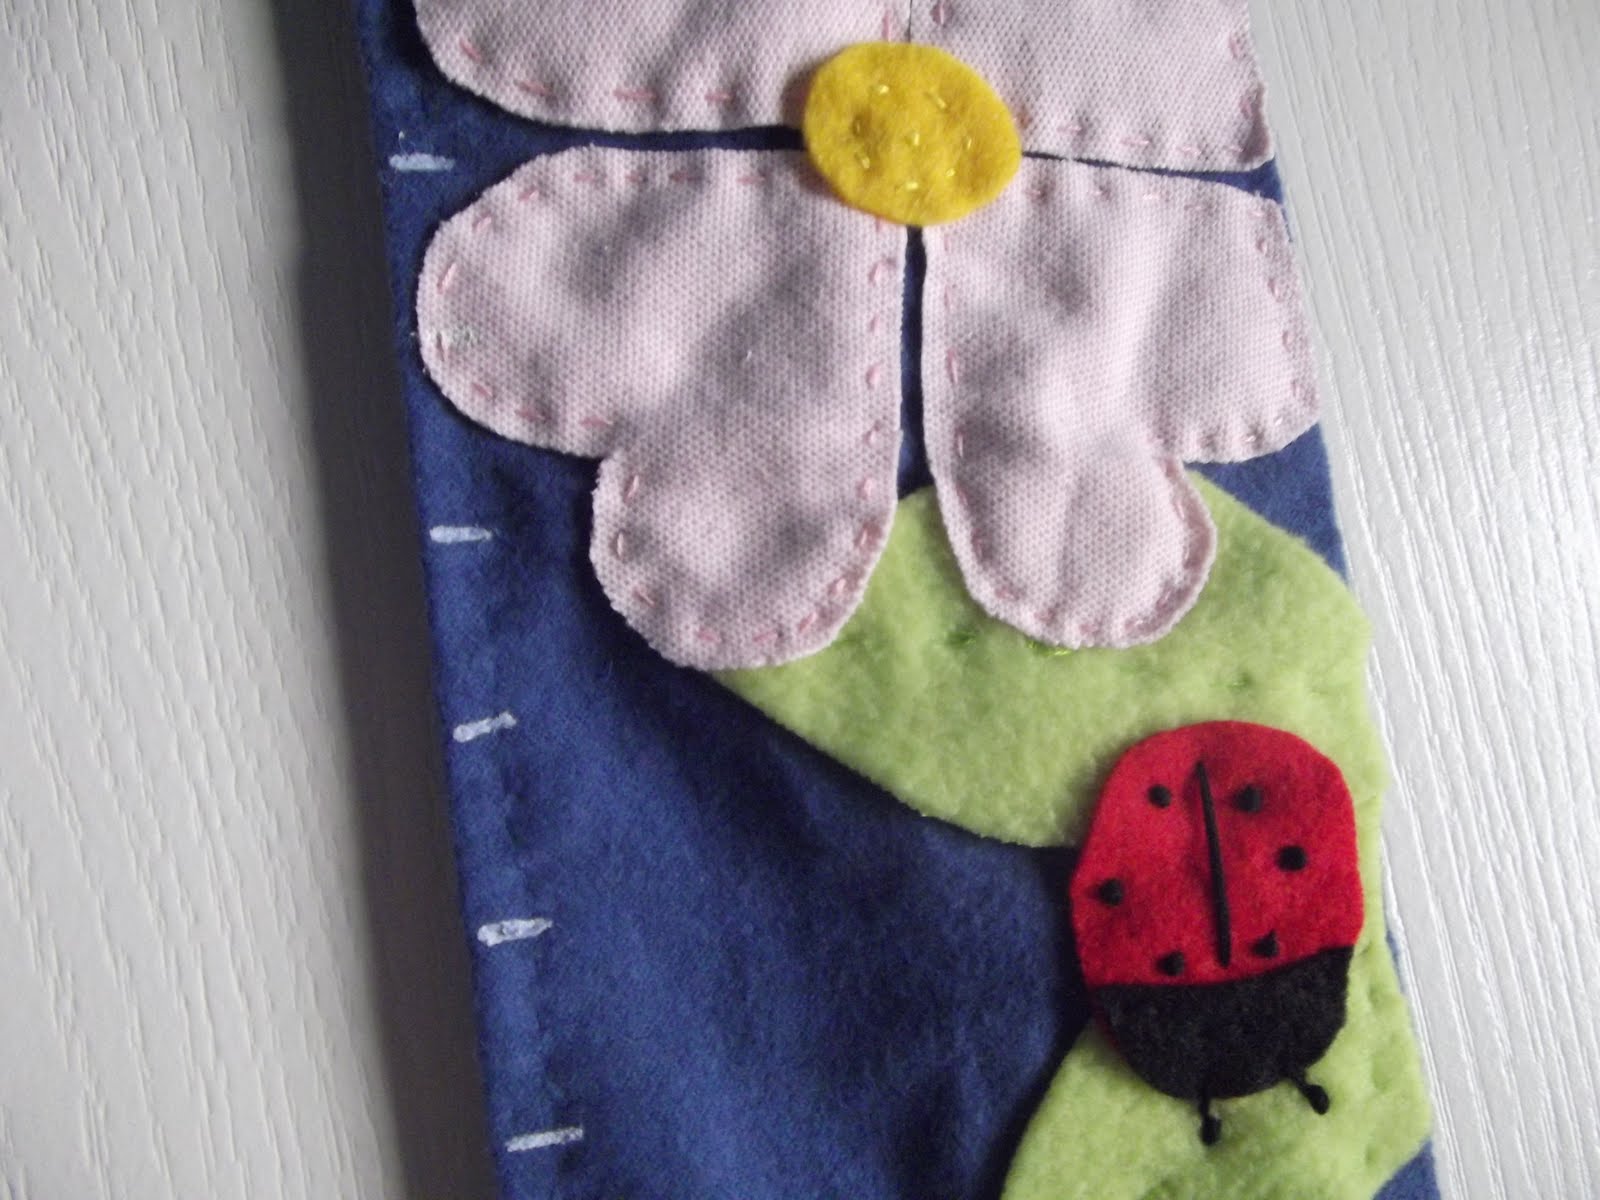
The design is also majorly different, I had fun cutting out the pieces and arranging them. I pinned them all down and started on the bottom pieces first and continued to the top layer of pieces until everything was sewn on. Sometimes I had to move stuff around to get to the pieces underneath. With this one, I used too many little pieces and that was really time consuming.
I did a tiny bit of embroidery on the ladybugs, using a french knot for the spots and antennae ends. I made a long stitch to separate the wings and for the length of the antennae.
Once everything was sewn on I used the fabric pen to make the lines and numbers. This one was shorter because the girl it was for was a lot taller to begin with than my unborn child so I made it to start at 18 inches. She also had a less of a chance of reaching six feet, so it is a few inches shorter there too.
On this one I sewed the hems for the dowels, because if they were to fall apart in years to come I didn't want to fix them.
I still did the embroidered name, using the chain stitch as before.
With the two different versions that I learned from, my next one will be even simpler by using a simple design like the tree and by using the paint pen. Thanks for reading!
The Wild Olive is a good place to learn the basic embroidery stitches if you want to make a fancy one of your own. Thanks for reading!
Linked to:
Somewhat Simple
1 comment:
You did a great job on both charts! I shared your post on my Friday Favorites.
Post a Comment